Switching to solar energy is not only beneficial for the environment but also for your wallet. If you're considering installing solar panels in your home in Norfolk, this step-by-step guide will help you navigate through the process smoothly. Refer: https://www.cahillrenewables.co.uk/solar-panel-installations-norfolk/.
1. Assess Your Energy Needs
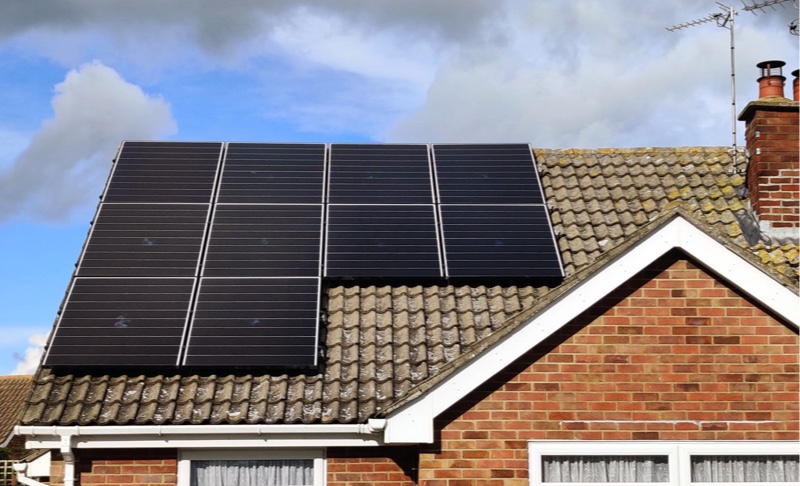
Before you dive into the world of solar panels, it's essential to assess your energy needs. Consider the following factors:
- Current energy consumption
- Roof size and orientation
- Shade on your roof
- Budget for the installation
2. Find a Reputable Solar Panel Installer
Once you have a clear idea of your energy needs, the next step is to find a reputable solar panel installer in Norfolk. Look for a company that is experienced, licensed, and offers good customer service. Ask for recommendations from friends or family who have already installed solar panels.
3. Get a Solar Assessment
Before the installation process begins, the solar panel installer will conduct a solar assessment of your property. During this assessment, they will evaluate your roof's condition, orientation, shading, and other factors to determine the best placement for the solar panels.
4. Choose the Right Solar Panels
There are various types of solar panels available in the market, including monocrystalline, polycrystalline, and thin-film panels. Consider factors such as efficiency, durability, and cost when choosing the right solar panels for your home in Norfolk.
5. Obtain Permits and Approvals
Before the installation can begin, you will need to obtain permits and approvals from the local authorities in Norfolk. Your solar panel installer should help you with this process and ensure that all necessary paperwork is completed correctly.
6. Schedule the Installation
Once you have obtained all the necessary permits and approvals, you can schedule the installation of the solar panels. The installation process typically takes a few days, depending on the size of the system and the complexity of the installation.
7. Connect to the Grid
After the solar panels are installed, they need to be connected to the grid to start generating electricity for your home. Your solar panel installer will handle this process and ensure that everything is connected correctly and safely.
8. Monitor Your Solar Energy Production
Once your solar panels are up and running, it's essential to monitor your energy production regularly. Keep track of how much electricity your solar panels are generating and compare it to your energy consumption to see the savings on your utility bills.
9. Enjoy the Benefits of Solar Energy
Congratulations! You have successfully installed solar panels in your home in Norfolk. Now, you can enjoy the benefits of solar energy, including:
- Reduced electricity bills
- Lower carbon footprint
- Increase in property value
- Energy independence
10. Maintenance and Troubleshooting
To ensure that your solar panels continue to function efficiently, regular maintenance is essential. Schedule annual inspections with your solar panel installer to check for any issues and perform routine maintenance tasks. In case of any problems, your installer should be able to troubleshoot and resolve them promptly.
11. Take Advantage of Incentives and Rebates
As a homeowner in Norfolk, you may be eligible for various incentives and rebates for installing solar panels. Check with your local authorities or utility company to see what programs are available and how you can benefit from them.
12. Spread the Word
Now that you have experienced the benefits of solar energy firsthand, why not spread the word? Share your success story with friends, family, and neighbors to encourage them to make the switch to solar energy as well.
By following this step-by-step guide to solar panel installation in Norfolk, you can harness the power of the sun to create a brighter, greener future for yourself and the community.