MacBook Air repair typically involves replacing parts such as the battery, logic board, display, or trackpad. Depending on the type of damage, the repair may require a trip to the Apple Store or an independent repair shop. If you are searching for Macbook air repair then, you may check this website .
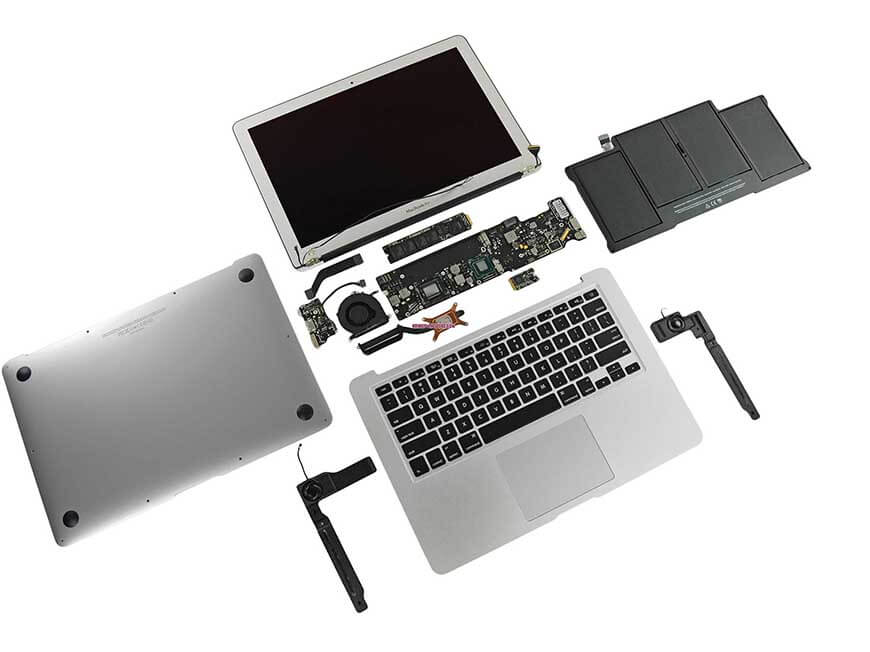
Image Source: Google
Here are some steps:
1. Begin by disconnecting the power source from your Macbook Air. Then, turn it upside down and remove the ten screws that hold the bottom cover in place. Carefully remove the bottom cover and set it aside.
2. Look for the display data cable connector located near the top of the Macbook Air. Carefully unscrew the two screws that secure the connector and remove it.
3. Next, locate the two screws that hold the display panel in place. Unscrew them and carefully remove the display panel.
4. Now it is time to install the new display panel. Carefully insert it into the frame and secure it with the two screws.
5. Reconnect the display data cable connector and secure it with the two screws.
6. Finally, replace the bottom cover and secure it with the ten screws.
That’s it! You have successfully replaced the display panel of your Macbook Air. Make sure to double-check that all the screws are properly secured before turning your device on.