
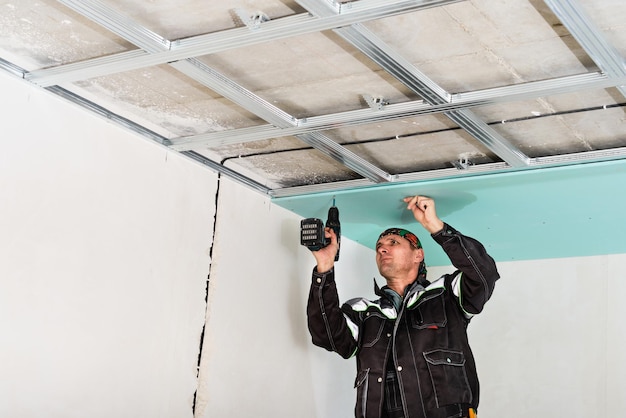
Ceiling damage is an unfortunate reality for many homeowners, often resulting from water leaks, structural issues, or simple aging. It can be an eyesore and, if left unattended, may lead to more serious structural problems. Repairing ceiling damage on your own can be daunting, yet with the right tools and guidance, it is entirely possible to restore your ceiling to its former glory. This guide will walk you through the essential steps of ceiling damage repair, offering practical advice and professional insights to ensure a successful DIY project.
Identifying the Cause of Damage
Before any repair work can begin, it’s crucial to identify the root cause of the ceiling damage. Common causes include:
- Water leaks from pipes or roofing.
- Structural shifts or settling.
- General wear and tear over time.
Understanding the cause will help in selecting the appropriate repair strategy and prevent future issues. Discover expert strategies here.
Tools and Materials Needed
Equipping yourself with the right tools and materials is essential for effective ceiling repair. Here’s a checklist to get you started:
- Protective gear: goggles, gloves, and a dust mask.
- Drywall compound and patching materials.
- Sandpaper or sanding block.
- Paint and primer that match your existing ceiling.
- Utility knife and putty knife.
- Paint roller and brush.
Having these items at hand will streamline the repair process and help achieve a professional finish. Learn about our tailored solutions.
Step-by-Step Repair Process
Step 1: Preparation
Start by clearing the area beneath the damaged ceiling. Remove furniture and cover the floor with a drop cloth. If the damage is caused by water, ensure the leak is addressed and the affected area is completely dry before proceeding.
Step 2: Patch the Damage
For small holes or cracks, use a putty knife to apply drywall compound, smoothing it over the damaged area. For larger repairs, cut out the damaged section with a utility knife and replace it with a new piece of drywall. Secure the patch with drywall screws and tape.
Step 3: Sand and Smooth
Once the patch or compound is dry, sand the area to achieve a smooth surface. This step is crucial for ensuring the repaired area blends seamlessly with the existing ceiling.
Step 4: Prime and Paint
Apply a coat of primer to the repaired area before painting. This helps the paint adhere properly and match the surrounding surface. Once the primer dries, paint the area with a color that matches your ceiling for an even look.
Explore advanced guides and tips on how to achieve a perfect finish by visiting our comprehensive guide to ceiling damage repair.
Preventing Future Damage
To prevent future ceiling damage, regular inspections and maintenance are key. Consider:
- Inspecting your roof and plumbing regularly for leaks.
- Addressing structural issues promptly.
- Repainting and sealing your ceiling as needed.
Consistent upkeep will minimize the risk of damage and maintain the integrity of your home?s ceiling. Find out more about this approach.
Repairing ceiling damage can be a rewarding DIY project that saves money and enhances the beauty of your home. With the right preparation and resources, you can tackle this challenge with confidence and achieve professional results.
